Since the Industrial Revolution, forged parts are widely used in mechanisms and machines wherever a component requires high strength. Forging can produce a piece that is stronger than an equivalent cast or machined part. As the metal is shaped during the forging process, its internal grain texture deforms to follow the general shape of the part. As a result, the texture variation is continuous throughout the part, giving rise to a piece with improved strength characteristics. Additionally, forgings can achieve a lower total cost than casting or fabrication. In this blog, we will learn about the Nondestructive Inspection of Forgings.
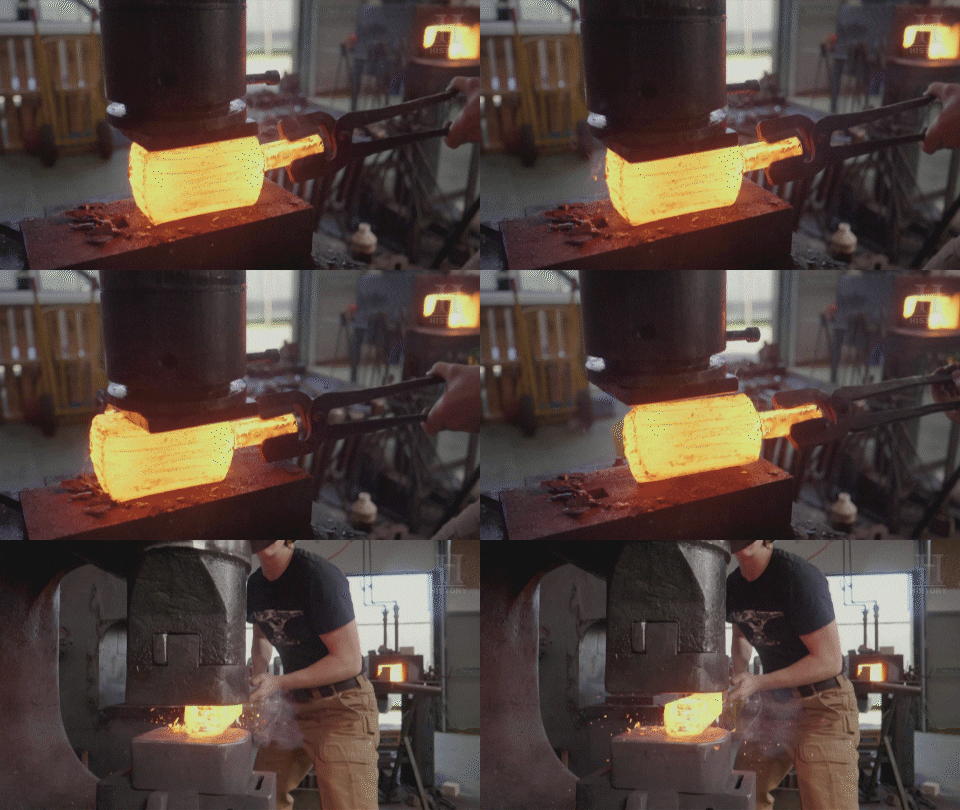
Forging is a manufacturing process involving the shaping of metal using localized compressive forces. The blows are delivered with a hammer (often a power hammer) or a die. Forging is often classified according to the temperature at which it is performed:
- cold forging (a type of cold working),
- warm forging, or hot forging (a type of hot working).

Credits : https://giphy.com/
Selection of Inspection Method
The principal factors that influence the selection of an NDT method for forgings include
- degree of required integrity of the forging,
- metal composition,
- size and shape of the forging, and
- cost.
- type of forging method used.
For high-integrity forgings, it is often required that more than one inspection method be employed because some inspection methods are capable of locating only surface flaws; therefore, one or more additional methods are required for locating internal flaws. Ultrasonic and Radiographic Inspection, both of these methods are volumetric Inspection methods and are used to carry out to inspection of the test piece throughout its Volume. But these methods have sensitivity limitations and are not suggested for the Detection of Fine Cracks on the surface or slightly subsurface of Materials. moreover, sometimes the detection of surface discontinuities is of more importance. This is when Magnetic particle Testing and Dye Penetrant Testing becomes Important NDT methods. For example, many forgings for aerospace applications are inspected with liquid penetrants (or with magnetic particles, depending on the metal composition) for locating surface flaws, then by ultrasonics for detecting internal flaws.
Common discontinuities observed in forgings:
- laps and cold shuts,
- Seams,
- Surface cracks,
- Quench cracks,
- Cold-straightening cracks,
- Flakes,
- Pipe,
- Subsurface nonmetallic segregation (slag inclusion),
- Subsurface cracking.
To learn more about discontinuities read our blog :
Visual Inspection
Visual testing should be the first nondestructive test method applied to an item in order to locate surface anomalies in most materials and subsurface discontinuities in translucent materials. It is widely used on a variety of objects to detect surface discontinuities associated with various Structural failure mechanisms. Despite the many sophisticated inspection methods available, unaided visual inspection is still important and is often the sole method of inspecting forgings used for common hardware items. Under proper lighting conditions, the trained eye can detect several types of surface imperfections, including certain laps, folds, and seams. Visual inspection is often used first, then questionable forgings are further examined by macro etching and inspection with macro photography or some type of nondestructive method.
The only equipment necessary for visual inspection is a bench on which to place the forging and suitable cranes or hoists for forgings that are too heavy to lift by hand. Good and well-controlled lighting conditions are essential. Optical aids such as magnifying glasses that can magnify up to about ten diameters are often used to increase the effectiveness of visual inspection.
To learn more about Visual Inspection read our blog :
Magnetic Particle Inspection
Magnetic particle inspection is useful for detecting surface imperfections as well as certain subsurface imperfections that are within approximately 3 mm ( in.) of the surfaces in forgings of steel, some grades of stainless steel, and other ferromagnetic metals. Magnetic particle inspection can be used with fluorescent particles and ultraviolet light.
Magnetic particle Inspection is used to detect surface and shallow subsurface discontinuities in ferromagnetic materials (no other type of material) such as iron, nickel, cobalt, and some of their alloys. This method includes magnetizing the part using direct/indirect method by applying a magnetic field into the part and detecting the flaws by application of fine metallic particles. Magnetic particle Inspection is capable of revealing surface discontinuities including those that are too small or too tight to be seen by the unaided eye.
To learn more about Magnetic Particle Inspection read our blog :
Liquid Penetrant Inspection
Liquid penetrant inspection is a versatile NDI process and is widely used for locating surface imperfections in all types of forgings, either ferrous or nonferrous, although it is more frequently used on nonferrous forgings. There is no limitation on the size or shape of a forging that can be liquid penetrant inspected.
Liquid penetrant Inspection is a versatile nondestructive Inspection method used for the detection of OPEN TO SURFACE DISCONTINUITIES in a wide variety of solid, non-porous materials. It is economical, versatile, and requires minimal training when compared to other NDT methods. It basically involves the application of Penetrant on the testing surface, allowing it on the test surface for a period of time and application of the developer after cleaning the Penetrant completely from the test surface. The test results indicating the presence of Discontinuities not visible by unaided human eyes.
Any of the three basic liquid penetrant systems (water-washable, post emulsifiable, and solvent-removable) can be used to inspect forgings. The product or product form is not a principal factor in the selection of a system.
To learn more about Liquid Penetrant Inspection read our blog :
Ultrasonic Inspection
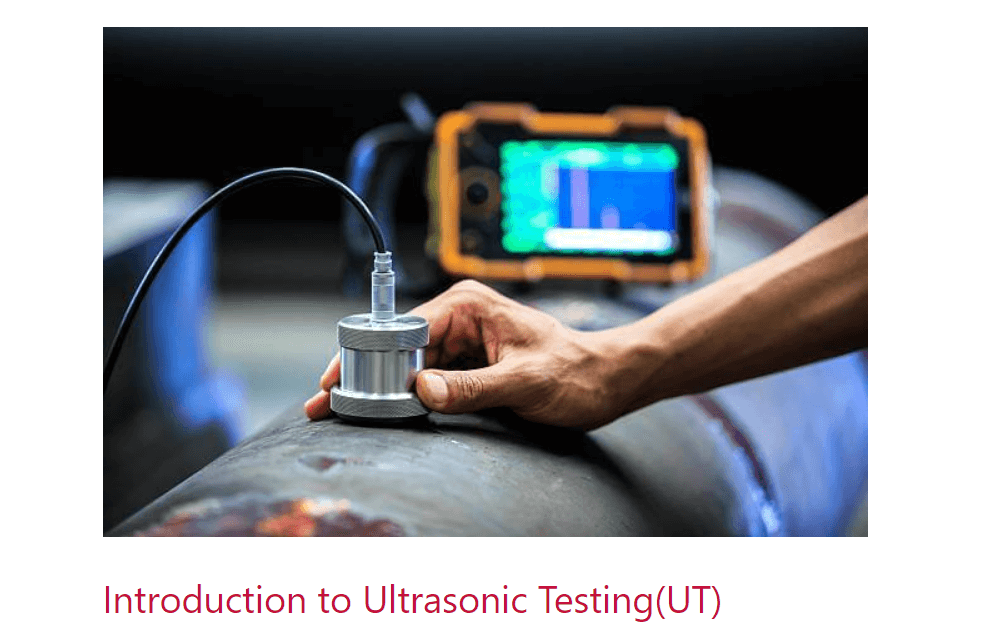
Ultrasonic inspection is used to detect both large and small internal flaws in forgings. Forgings, by their nature, are responsive to ultrasonic inspection. Both longitudinal or shear wave (straight or angle beam) techniques are utilized. The size, orientation, location, and distribution of flaws influence the selection of technique and the inspection results.
It is a volumetric testing method means it is able to detect both surface and subsurface discontinuities. flaw detection or measurement is superior to other NDT methods. Equipment used for testing is portable and easy to operate in different locations, highly accurate in determining discontinuity position, and estimating size and shape. Minimal part preparation is required. It can also be used for the thickness measurement of the specimen.
Although techniques and couplants can enhance the energy transmission from the transducer to the forging, as-forged surfaces impair the effectiveness of ultrasonic inspection. Near-surface flaws are most difficult to detect, and a dead zone* at the entry surface often interferes. Because of the difficulty involved in detecting surface flaws by ultrasonic inspection, another method, such as magnetic particle or liquid penetrant inspection, is often used in conjunction with ultrasonic inspection to inspect high-integrity forgings thoroughly.
To learn more about Ultrasonic Inspection read our blog :

https://worldofndt.com/introduction-to-ultrasonic-testing/
Eddy Current and Electromagnetic Inspection
In the nondestructive inspection of forgings, the eddy current method is commonly used to detect flaws, while the electromagnetic method is used to detect differences in microstructure, chemical composition, or hardness.
Electromagnetic inspection, which is restricted to ferromagnetic materials, is sometimes categorized as a modification of the eddy current method because both techniques are based on electromagnetic principles.
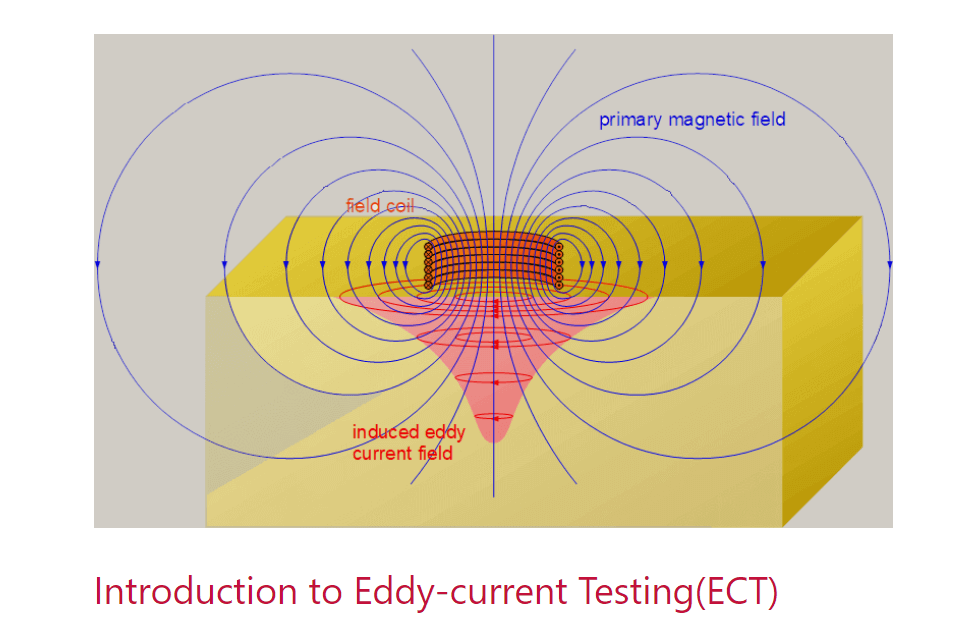
In concept, eddy current equipment functions by the introduction of relatively high-frequency alternating currents into the surface areas of conductive materials. The response of the material to the induced field is then measured by a mechanism sensitive to the induced field.
The detection of flaws in forgings by eddy current inspection is almost always done with a system consisting of a single probe that is connected to an instrument generically known as a defectometer. This system is balanced with the probe in air and is further balanced to a null value on sound material of the same composition, heat treatment, and surface condition as the forging to be inspected. Areas of the surface of the forging where flaws are suspected are scanned with the probe, which searches for an unbalance due to the flaw. Generally, the scanning is done in two directions approximately at right angles to each other.
To learn more about Eddy current Inspection read our blog :

https://worldofndt.com/introduction-to-eddy-current-testing/
Radiographic Inspection
Radiography testing Uses the ability of x-rays and gamma rays to penetrate materials. X-rays and gamma rays can even penetrate materials that don’t transmit light. Penetration depends upon thickness, the density of material and size of source being used.
In passing through the material some of these rays get absorbed and transmitting the rest of the rays. These transmitted rays are recorded on imaging media which on further processing gives a radiographic image of the test object.
Radiography (γ-ray or x-ray) is not extensively used for the inspection of forgings for two reasons. First, the types of discontinuities most commonly located by radiography (gas porosity, shrinkage porosity, and shrinkage cavities) are not usually found in forgings. Second, for the types of internal discontinuities commonly found in forgings (inclusions, pipe, bursts, or flakes), ultrasonic inspection is more effective, adaptable, and economical.
Radiographic techniques can sometimes be helpful in the further investigation of known internal discontinuities in forgings when the presence of these discontinuities has been determined earlier by ultrasonic inspection. In sections that are not too thick to penetrate with available radiographic equipment, the size, orientation, and possibly the type of discontinuities can be evaluated by radiography.
References :
- ASM HANDBOOK VOLUME 17 NON DESTRUCTIVE EVALUATION AND QUALITY CONTROL.
- en.wikipedia.org
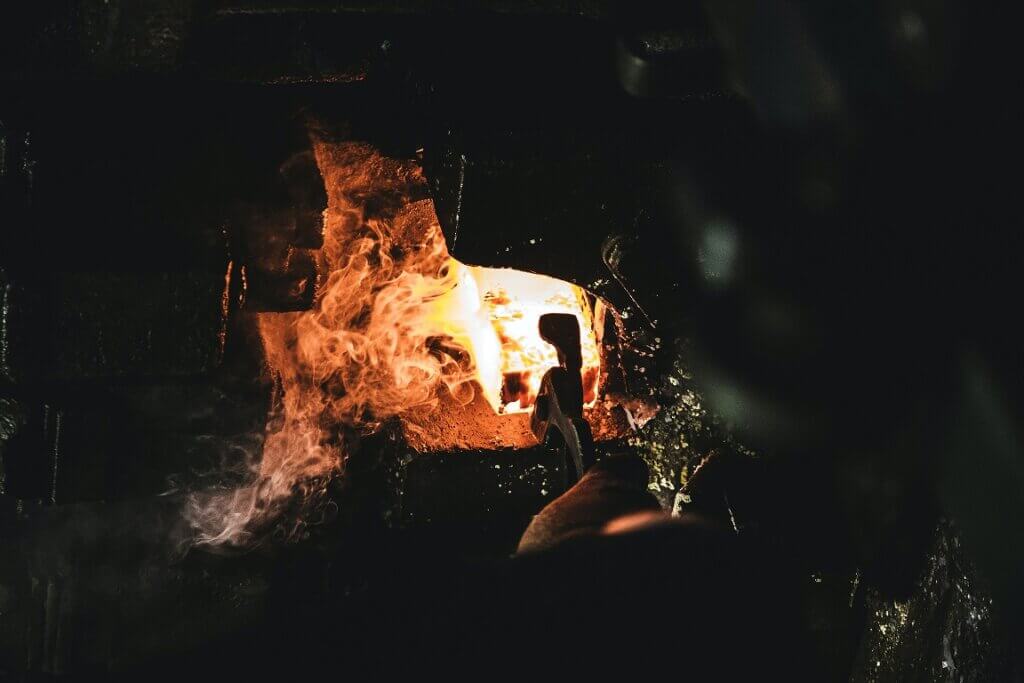
- Feature image: Photo by C D-X on Unsplash
