Visual testing should be the first nondestructive test method applied to an item in order to locate surface anomalies in most materials and subsurface discontinuities in translucent materials. It is widely used on a variety of objects to detect surface discontinuities associated with various Structural failure mechanisms. Even when other nondestructive tests are performed, visual tests often provide a useful supplement.
To learn about History of NDT , Read our Blog
HISTORY OF NON-DESTRUCTIVE TESTING
As per ASNT NDT Visual Testing Handbook
Visual testing is the observation of a test object, either directly with the eyes or indirectly using optical instruments, by an inspector to evaluate the presence of surface anomalies and the object’s conformance to specification.
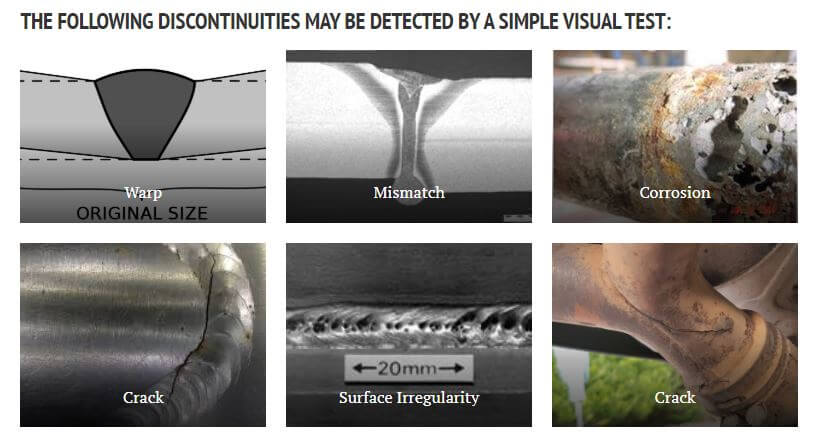
Important Factors
Cleaning of obstructions from the surface: Pre-cleaning is necessary because dirty surface weakens an adequate view of the test surface. The need for cleaning largely depends on the size and type of discontinuities specified by acceptance criteria.
illumination -: to provide adequate contrast so that relevant objects or discontinuities are detected. Illumination (natural or supplemental white light) of the examination surface is required for the specific part, component, vessel, or section thereof being examined. The minimum light intensity shall be 100 fc (1076 lx).
Observation: observation and evaluation of test object as per Visual Test Specifications
Visual testing is performed either by
Direct technique -: The direct technique is to place the eye within 600 mm (24 in.) and not less than 30 degrees from the test surface. Mirrors may be used to improve the angle of vision, and aids such as magnifying lenses may be used to assist examinations.
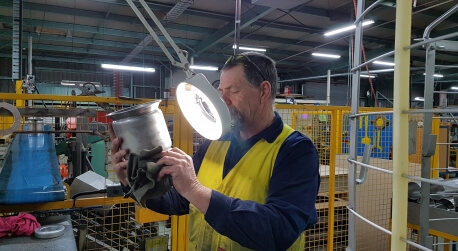
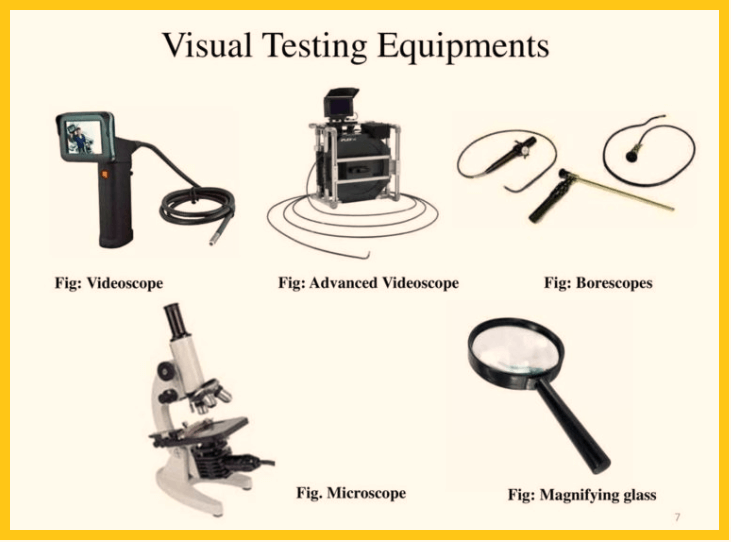
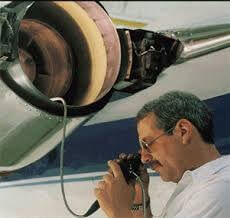
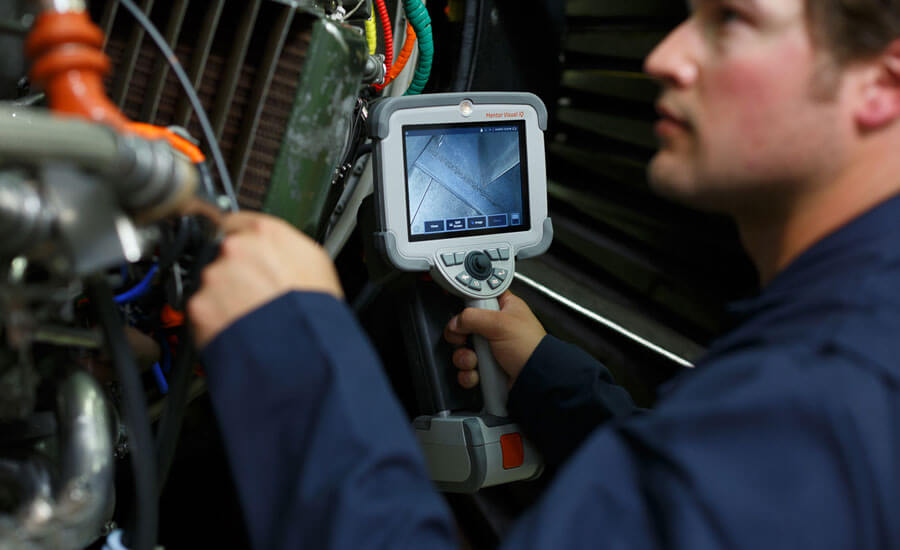
Remote ( indirect) technique-: The remote, or indirect, the technique may include accessories such as mirrors, borescopes, video probes or cameras to correct for the distance or angles of view.
Visual Test Specifications
Specifications must be written with full knowledge of
- visual test techniques,
- a technique’s individual sensitivities,
- the test object design,
- its material characteristics
- the discontinuities critical to the test object’s service life
Personnel Requirements
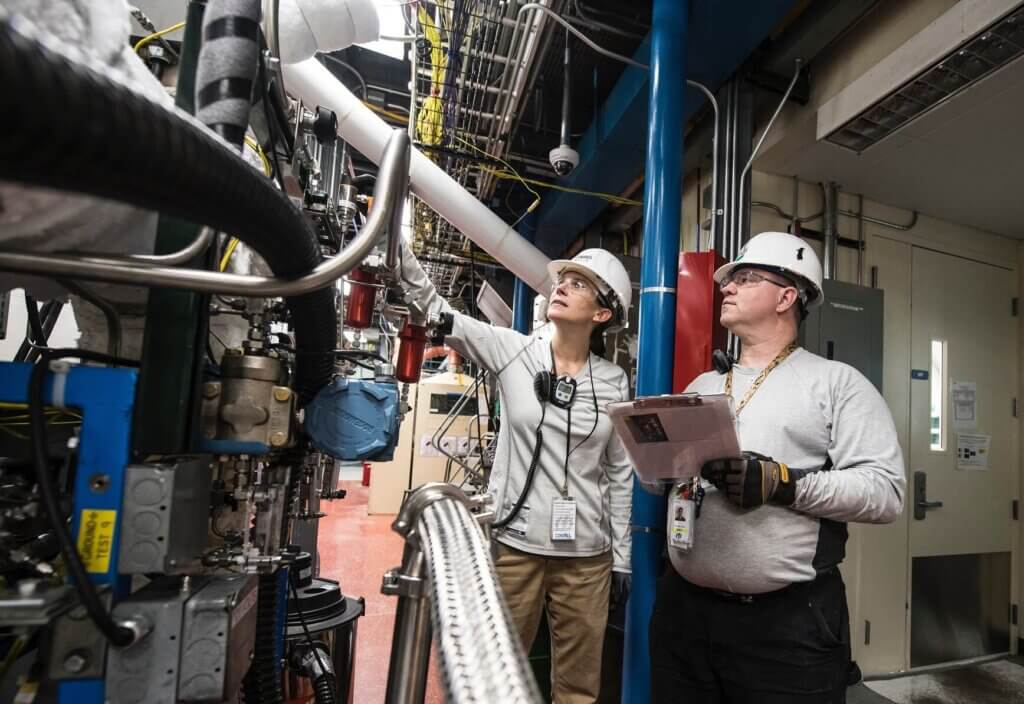
For competent visual testing of an object, it is necessary for a person to have sound knowledge and related industry experience of the manufacturing processes by which the test item was made, its service history and its potential failure modes.
The American Society for Nondestructive Testing (ASNT) has been a world leader in the qualification and certification of nondestructive testing personnel since the 1960s.
(Qualification demonstrates that an individual has the required training, experience, knowledge, and abilities;
certification provides written testimony that an individual is qualified.)
four major documents for the qualification and certification of nondestructive testing personnel.
Recommended Practice No. SNT-TC-1A, Personnel Qualification, and Certification in Nondestructive Testing
ANSI/ASNT CP-189, Standard for Qualification and Certification of Nondestructive Testing Personnel
ANSI/ASNT CP-105, ASNT Standard Topical Outlines for Qualification of Nondestructive Testing Personnel
The ASNT Central Certification Program (ACCP),

Interpretation
The interpreter must have knowledge of the following:
- the underlying physical process,
- techniques and equipment,
- details about the test object (configuration, material properties, fabrication process, potential discontinuities, and anticipated service conditions) and
- possible sources of false indications that might be mistaken for meaningful visual indications.
The evaluation phase includes acceptance and rejection criteria After interpretation.
Conclusion
Advantages
- economy,
- speed,
- sensitivity,
- versatility,
- applicability to irregular shapes,
- field mobility,
- minimal training requirements
- minimal equipment requirements
Limitations
- Visual testing requires a line of sight to the test surface and lighting adequate to detect and interpret anomalies of interest.
- Visual testing is sometimes limited to component geometry: size, contour, surface roughness, complexity, and discontinuity orientation.
- Remote visual equipment required to access interior surfaces and remote equipment
- providing adequate viewing angles, sensitivity, resolution, and illumination may be costly.
- For proper interpretation of indications, the inspector needs skill with the technique used, experience using the visual equipment and knowledge of the test object.
Visual Testing FAQs:
What is meant by visual inspection?
As per asnt ndt visual testing handbook:
Visual testing is the observation of a test object, either directly with the eyes or indirectly using optical instruments, by an inspector to evaluate the presence of surface anomalies and the object’s conformance to specification.
Why is visual inspection important?
Visual testing should be the first nondestructive test method applied to an item in order to locate surface anomalies in most materials and subsurface discontinuities in translucent materials. It is widely used on a variety of objects to detect surface discontinuities associated with various Structural failure mechanisms. Even when other nondestructive tests are performed, visual tests often provide a useful supplement.
How many stages are used by visual inspection?
Basic Stages used in Visual Inspection:
· Cleaning of obstructions from the surface: Pre-cleaning is necessary because dirty surface weakens an adequate view of the test surface. The need for cleaning largely depends on the size and type of discontinuities specified by acceptance criteria.
· illumination -: to provide adequate contrast so that relevant objects or discontinuities are detected. Illumination (natural or supplemental white light) of the examination surface is required for the specific part, component, vessel, or section thereof being examined. The minimum light intensity shall be 100 fc (1076 lx).
Observation: observation and evaluation of test object as per Visual Test Specifications
What is visual inspection in welding?
Visual Inspection involves looking at a weld with the eyes or indirectly using optical instruments with some level of magnification. Typically, visual inspectors are checking for surface anomalies like cracks, pits, surface pores, undercut, underfill, missed joints, and other aspects of the weld .
Visual Inspection is limited to the surface area of the weld that is visible to the inspector, which means something like depth of penetration cannot be determined unless the weld is a full penetration weld and you can view it from inside the assembly
How effective is visual inspection?
Visual testing should be the first nondestructive test method applied to an item in order to locate surface anomalies in most materials and subsurface discontinuities in translucent materials.
· Economy- basic visual testing can be simply be carried by naked eyes in presence of sufficient lighting.
· speed – most quick method compared to other NDT methods.
· Sensitivity – most effective to locate surface anomalies.
· Versatility – can be applied to every object.
· field mobility- portable equipments are available for both direct and indirect visual inspection.
· minimal training requirements – less training hours required to other NDT methods
· minimal equipment requirements
How do you check for visual inspection in welding?
Visual Inspection Technique:
1. What – In order to perform final visual inspection you
need:
a) Adequate lighting (use flashlight as needed)
b) Weld gauges (bridge cam and finger gauges recommended)
c) Prescription glasses (as required)
2. How – Distance and angle:
a) The inspector’s eyes should be within 24 inches of the surface to be inspected and
b) At an angle of at least 30 degrees to the surface being inspected.
· Use gauges like Bridgecam Gauge, Finger Gauge, HI-LO Welding Gauge.Adjustable Fillet Weld Gauge.
,V-WAC” Single Weld Gauge.,Pit Depth Gauge.,Automatic Weld Size Weld Gauge etc .
References:
- ASNT NDT Handbook VT
- Images from Google.
Hello. This post was extremely interesting, especially because I was looking
for thoughts on this topic last Thursday.
King regards,
Dinesen Cannon
I really like and appreciate your article post.Really thank you! Really Cool.
Im obliged for the post.
Pingback: Nondestructive Inspection of Forgings | World Of NDT